Overview
Products Section Guide

Content
- Products List
- How to create a product?
- Edit Product
- Publishing a Product
- Add Suppliers
- Add or Remove Images
- Sample Screenshots
Products List

You can find all your products under Products > View. On this page a dynamic table will be displayed where you will able to see the Product Name, the SKU, the number of Variants, the Available Quantity (with 6 digits), the Price and the Currency (with 6 digits), the Status of the product, date at which was created sorted by last one first and in the end you can find the Actions column, where all possible actions against the row's product are available. Currently there are 3:
- Edit: Opens the edit page of the product
- Copy: Allows to create a complete copy of the product in Draft status
- Delete: Deletes the products completely
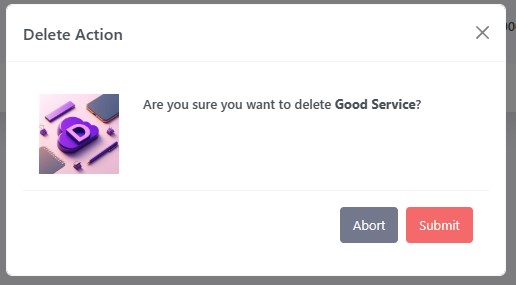
By pressing the Delete action, a popup on the screen will appear for confirmation or not of the deletion.
Filtering
At the top right corner, you will find a set of filters that you can apply to the current product view. The first one includes a search and filter by Supplier. You must type at least 1 character for the suppliers to appear, and then you can select the one whose products you want to see. Right next to the supplier filter is the static filter by Status. Next to it is the option to filter by Product Type. The last available filter is for the products to be filtered by Category. To apply any filter, click Apply after selecting them.
At the top of the Product's List table, there is a set of filter rules. Each column allows you to type in words or numbers and also to select additional options, such as 'contains', 'starts with' and many more, to efficiently query what you are searching for.
How to create a product?
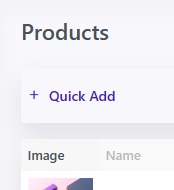
By clicking on the option Quick Add to open the page for creating a new product. This page aims to fill in the necessary or basic fields of a product and then open the full tab.
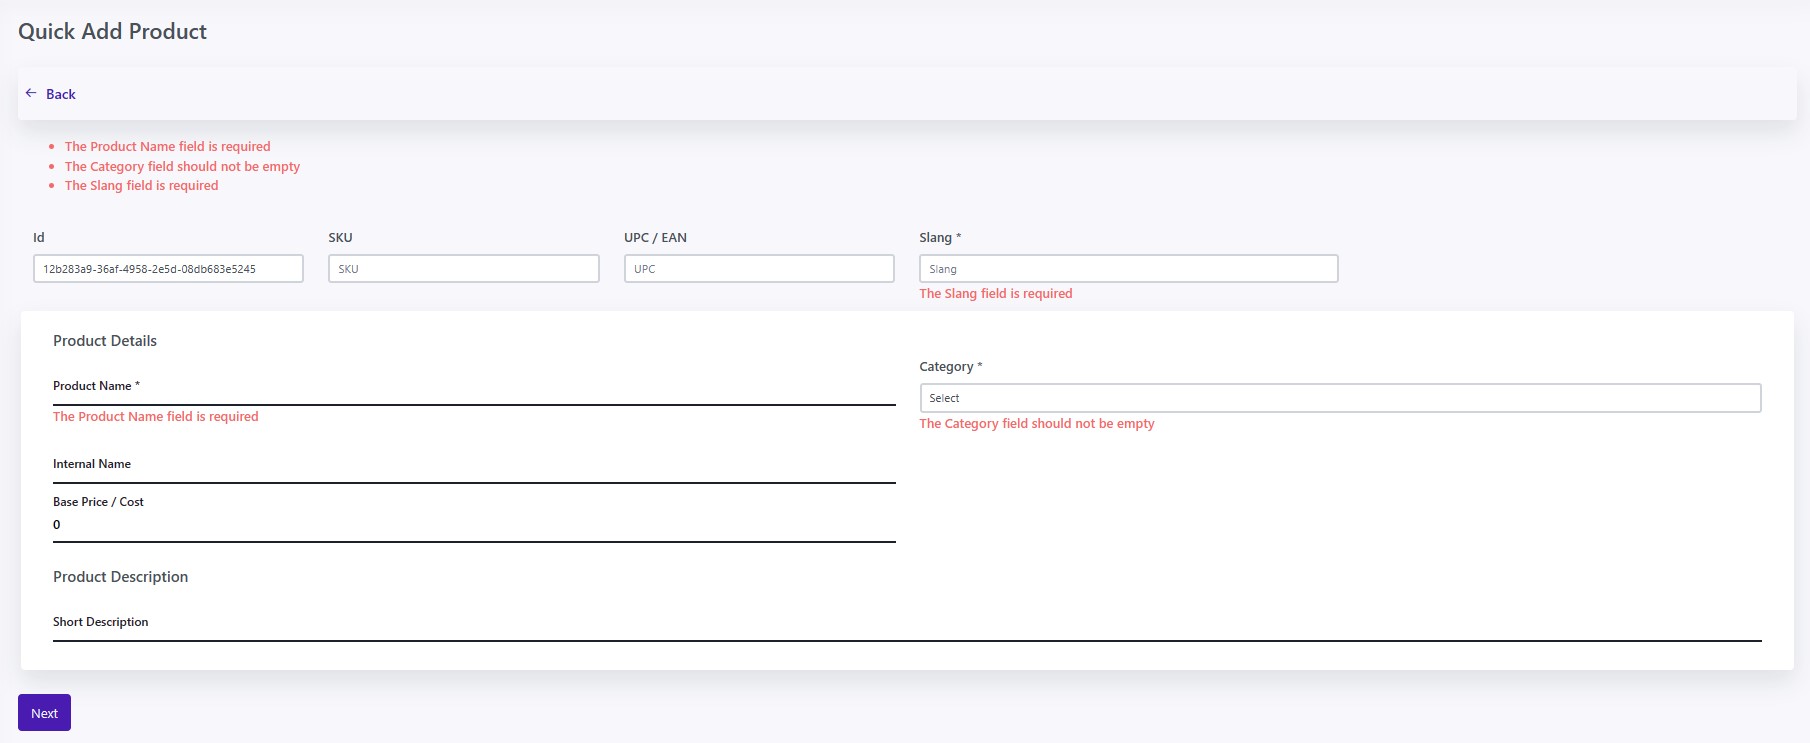
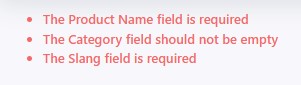
You will notice that there are 3 errors. This will happen if you do not fill all 3 fields that are necessary. More specific this are Product Name, Slang and Category since no product is possible to be missing this 3 fields.
Once you complete all entries by clicking Next or Edit (in the product list), you will be directed to the product editing page.
Edit Product
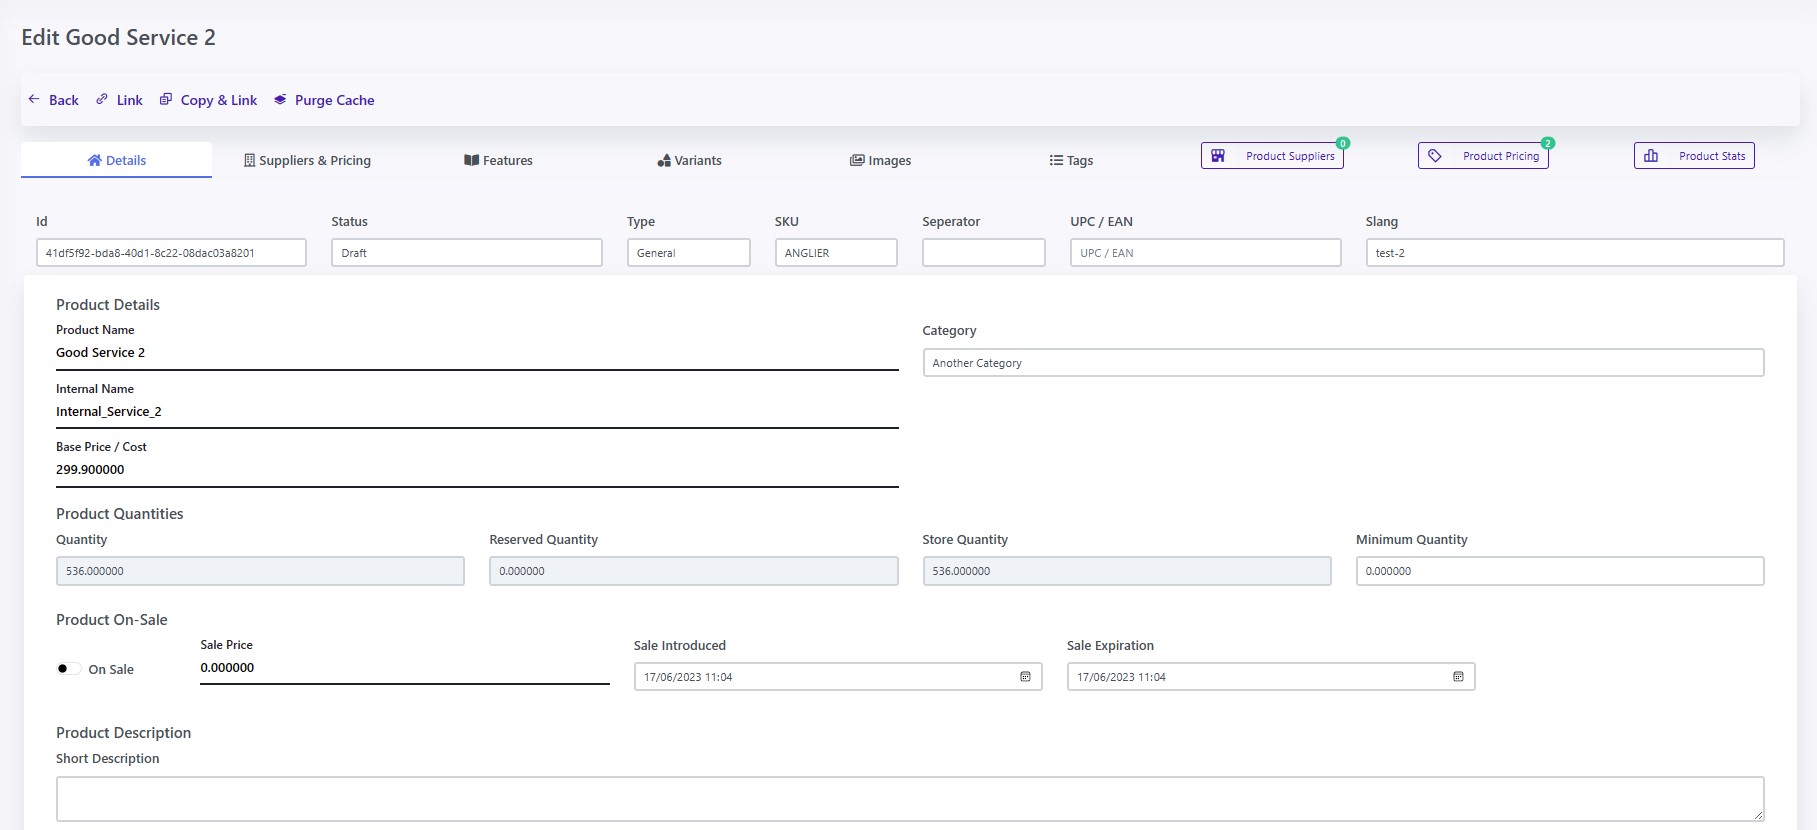
At the top of the editing page, you will see Edit {Product Name} followed by the toolbar of functions.

The functions are as follows:
- Back: Takes you back to the list.
- Link: Allows you to link a product to another. You can read more here.
- Copy & Link: Allows you to copy the product and link it directly to the current one. You can read more here.
- Purge Cache: Deletes temporary cache copies in the database for both cache and the Redox Server.
Following is the bar with the tabs of the product editing page and the buttons for setting suppliers and prices, as well as the statistics.

The tabs in which the product information is divided are as follows:
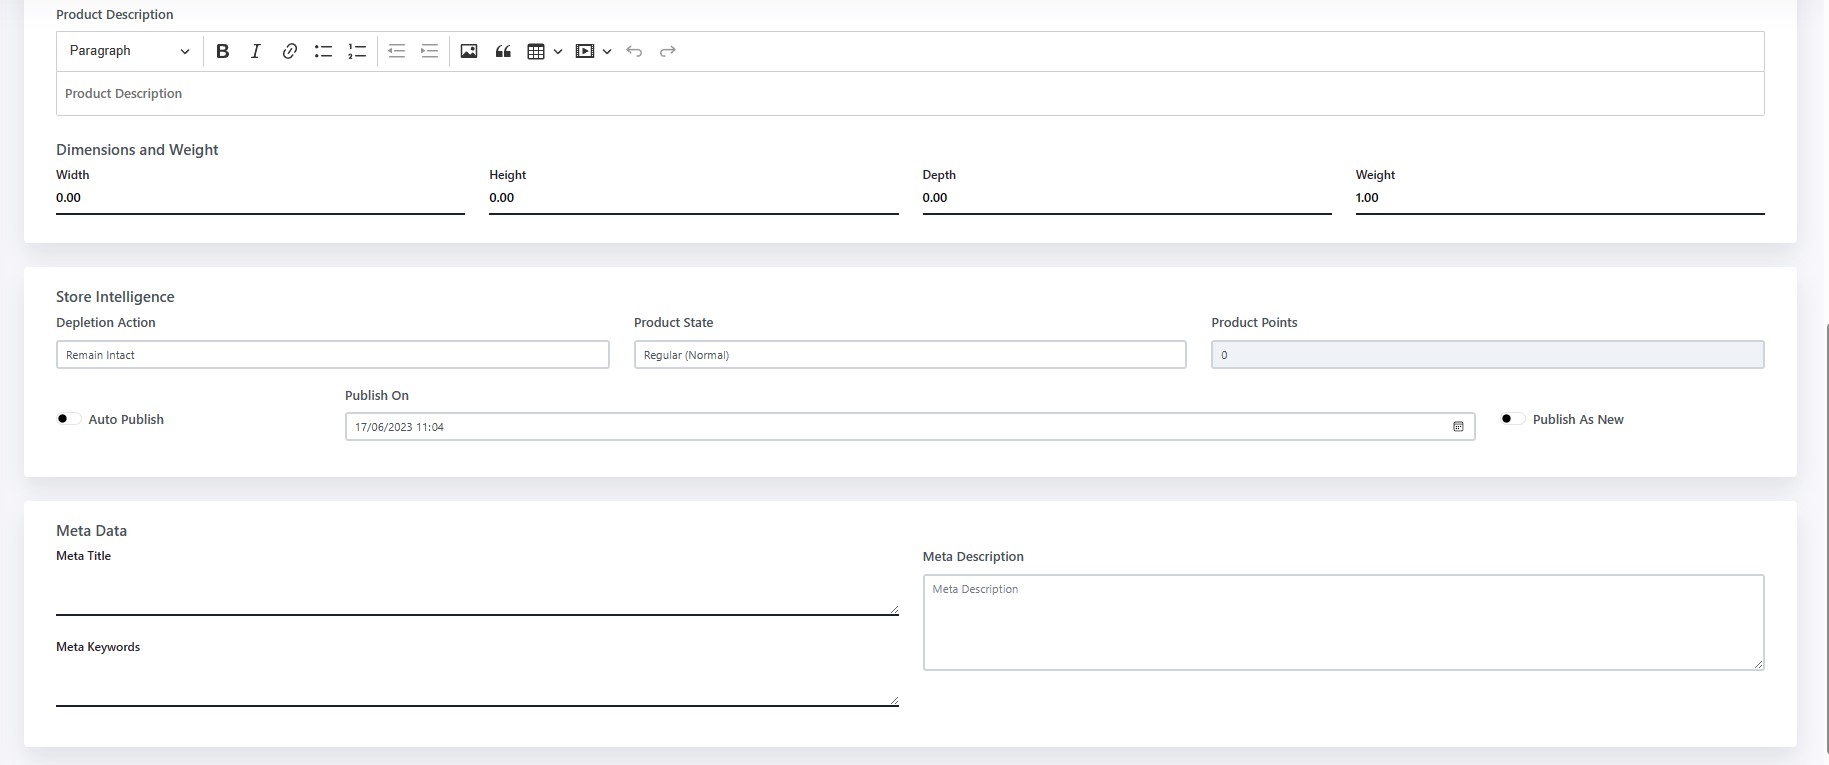
- Details: The main page with the basic details of the product.
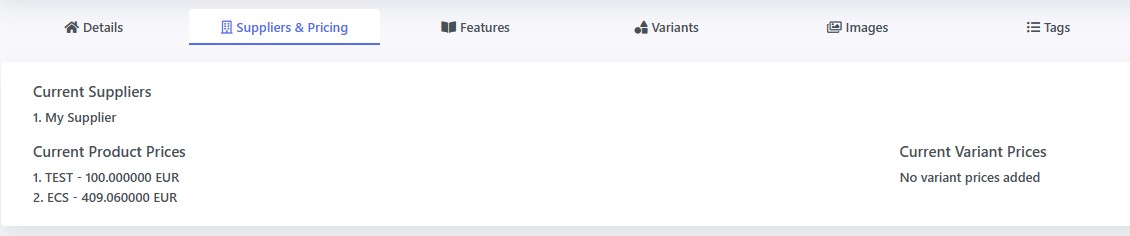
- Suppliers & Pricing: The tab with suppliers and prices of the product.
- Features: The tab with the features of the product. You can read more here.
- Variants: The tab with the variants of the product. You can read more here.
- Images: The tab where you can modify the product images.
- Tags: The tab that allows you to see the tags (used in search) of the product.
Publishing a Product
Publishing a product triggers a set of actions that require a paragraph of their own. First, before submitting a product for publishing, a set of rules is checked. If any of these rules are not met, you will receive an error message indicating that the product cannot be published. The rules are as follows:
- If the product doesn't have an SKU, an auto-generated one is assigned.
- If you are trying to change the status of a System Assigned product, you will receive an error message: You cannot change the status of a SystemAssigned product.
- If you are trying to save a non System Assigned product as one, you will receive an error message: You cannot save a product as SystemAssigned.
- If a product is of type General, has zero images, and the Status is Published, you will receive an error message: You cannot publish a product without at least one image. You can prevent this by saving as Wholesale or Service type. Remember that Service types don't have quantities.
- If there are no product variants and the Status is Published, you will receive an error message: You cannot publish a product without at least 1 purchase option.
- If the product doesn't have a selected Category, below its own field, you will receive an error message: The Category field should not be empty.
- If the product's Weight is zero or below, the Status is Published, and the type is General, you will receive an error message: Product cannot be published. Weight cannot be zero or less.
- If the product's Slang is empty and the Status is Published, you will receive an error message: Slang should not be empty.
The error messages are self-explanatory and pinpoint the exact issue.".
After passing all the rules mentioned above, the submission for Publishing the product involves the following steps:
- Validates if the tagging rules are in check. More details can be found here.
- If the validation doesn't pass, you will receive a notification indicating an error in publishing the product, and you should check the values. The Status of the product will be set to Draft.
- If the validation passes, it will proceed with generating the tags.
- Then, it will update/add the prices to the product.
- Lastly, it will continue with purging the cache. This performs two tasks: deleting the cache from the Redox Server and rebuilding the cache in our caching database for faster product retrieval.
Add Suppliers
To add a supplier to a product, follow these simple steps:
- Click on Product Suppliers.
- Then click Add.
- Type a term to search for existing suppliers (Name, TIN, Registration Number, Country).
- A dropdown list with the found suppliers will appear underneath. Select the one you are looking for.
- Then click Select.
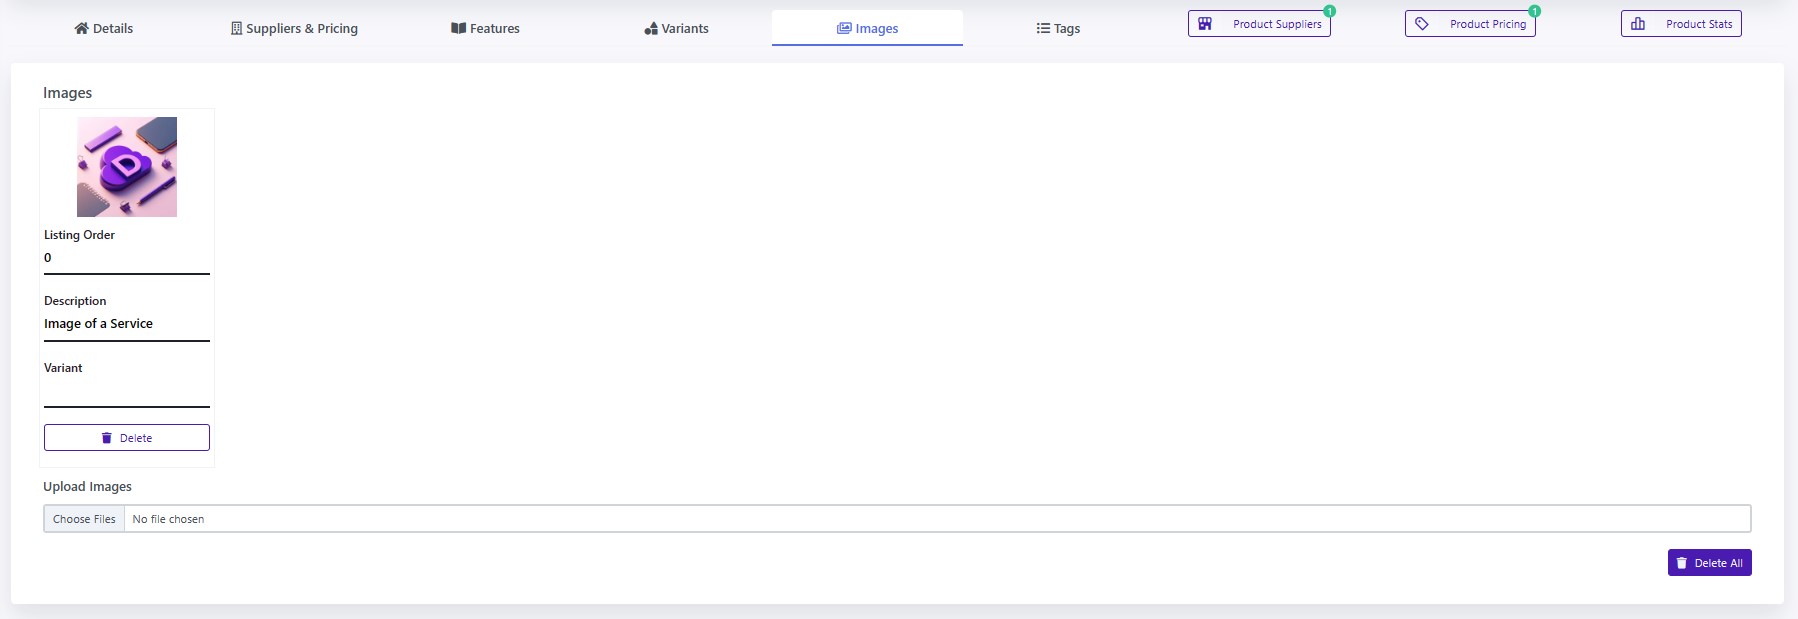
Add or Remove Images
To add an image, click Choose Files. Your system's file explorer will open to select the image files. Supported formats are: PNG, JPG, JPEG, and GIF. After submitting them, the images will be compressed and transformed to Webp for faster and more efficient websites. Next, they will appear in the Images tab. You can set the order and description (Alt) of the image and also select if it corresponds to a certain variation. Deleting the images only requires clicking on the Delete button at the bottom of each image card.
Sample Screenshots
Details Tab
Details Page Screenshot 1
Details Page Screenshot 2

Details Page Screenshot 3
Suppliers & Pricing Tab
Features Tab

Variants Tab

Images Tab